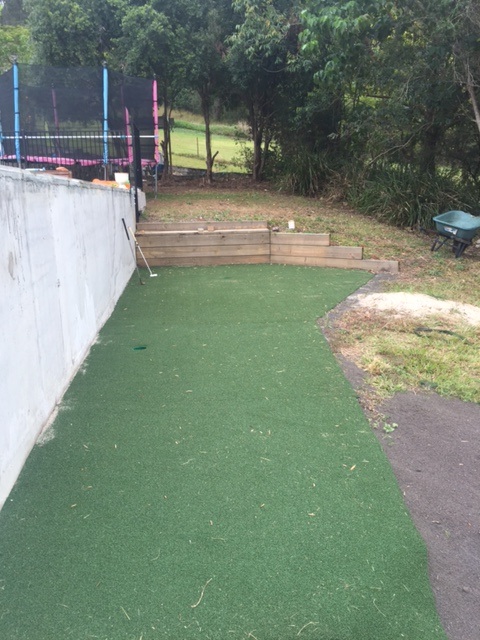
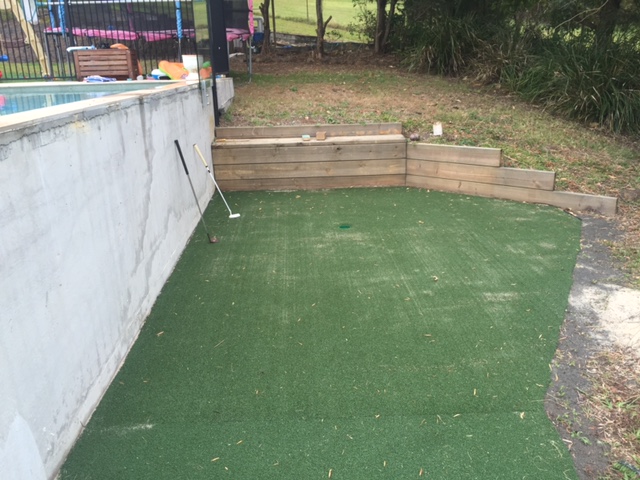
Here’s an amazing putting green that I’ve just installed in my backyard.
Originally, I had this beauty installed and was so impressed with it I pleaded for a job with the business.
I’m now running Supreme Greens myself and am excited with this new product we’ve created. And what you see below is the latest and greatest in synthetic golf green technology. Here’s the story.
This grass has been made exclusively for golf and is aimed at the DIY market. A fully installed putting green can be expensive (upwards of $10,000) and we wanted to offer handy types an option for installing their own green for a fraction of the price. And because the vast majority of the population don’t have a lot of space, this product is ideal. In most cases, the typical golfer can find room for a green that’s around 3.5m wide and 7 metres long and that’s it. Ideal for your backyard!
And this new DIY grass ticks a lot of boxes. For starters, it performs unbelievably well. I wouldn’t recommend or use anything that isn’t realistic. The very first synthetic golf greens I played on were terrible, and one reason I initially thought about using real grass. But this grass rolls well and is long lasting. And you can even play lofted chips to it and have the ball check and spin. Really incredible!
A real life golf green is hard work. There’s mowing and watering and all the chemicals to keep it alive. It takes lots of time and unless you have the right equipment, it’s not a viable option. For me, a synthetic green was the only option. Plus, the synthetic grass drains well and is usable all-year round.
And this new generation grass has been designed for golf enthusiasts that don’t have the budget or room for a huge green. It’s easy to install because there’s less infill required and if you keep the shape simple – 3.5 meters wide and around between 5-10 metres long, you won’t have any problems.
Look here. Bruce, the founder of the business and the chief installer, has built golf greens all over Australia. And there’s probably nothing he doesn’t know about install, synthetic grass and golf greens. And he tells me that there’s always issues with the install.
Getting the grass to join properly.
Making sure it drains.
Ensuring that it’s not too fast or slow.
But these small greens are way easier. And to make sure you don’t have any issues I’ve created a DIY guide made specifically for this product. I have shot a range of videos (and other content) that walk you through each step of the process. If you purchase this new grass I include the videos as part of your purchase.
The bottom line here is this grass will give you an awesome golf green. They look fantastic, they are realistic and they help you improve your putting (and chipping). And if you follow the user guide you can have your very own golf green for approximately $1500-$2,000. Please note: This is just a guide because price will vary depending on shipping costs and how much grass you need.
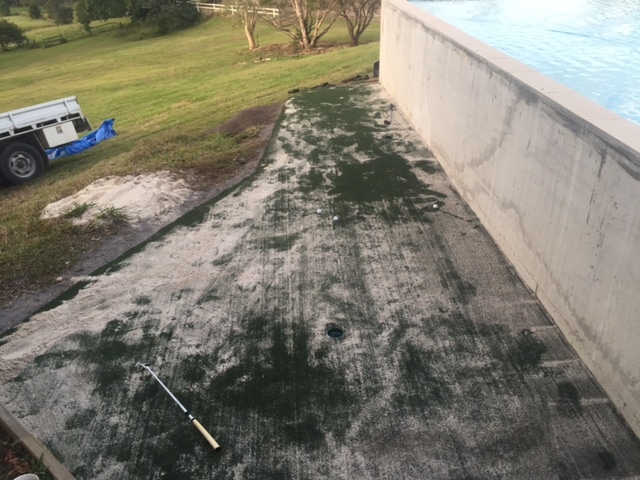
Anyway, if you’re a serious golfer and you’ve always wanted your very own putting green then I reckon you’ll love this product. I’ve had mine in for a few days and I’ve been mighty impressed with how it functions. It’s rolling at around 10 on the stimp and the putting surface is pure. It looks a little sandy at the moment, but this will disappear as the infill settles. At any rate, the green functions exceptionally well. (plus, in time, I’ll add fringe and tidy up around the edges. I will also most likely add a chipping tee)
Also, I can chip from the far end and have the ball land and spin. It’s very realistic and offers a new dimension (chipping) that other synthetic greens systems do not.
Here’s some more info about this DIY synthetic Golf Green:
A special, new generation DIY golf grass that is as simple and easy to install as possible.
Comes in 3.66m widths and 20 metres rolls.
The most popular length we sell is 7 metres (8, 9 and 10 metres is also popular).
You can add fringe grass and chipping tees without too much issue (I’ll be doing this in the coming weeks and adding these vids to the DIY Guide)
Instead of expensive proprietary infill, you can use a white washed sand that can be obtained cheaply from your local backyard gardening shop
We ship anywhere and can supply you all the accessories (including cups and flags and tools)
How much experience do you need to install these golf green?
It’s a good question but one that is difficult to answer. If you’ve never done any work around the house and you don’t know one end of a hammer from another, then maybe this isn’t something you should tackle.
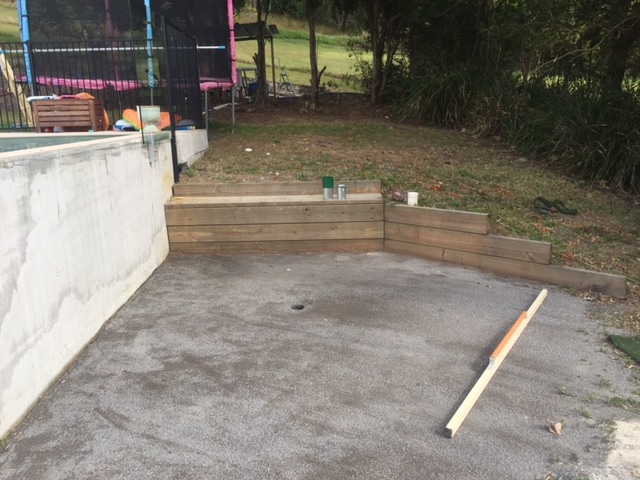
But if you’re somewhat handy, or know someone who is, there really isn’t too much to worry about. You’ll need to remove existing vegetation, lay a base and then add the grass. But the guide walks you through the process and you can have the green built in a day or so.
C’mon Cameron, are these greens really any good?
Yes. They are incredible. When I first used one I was impressed at how well it performed. This new grass now gives any serious golfer the option of having their very own putting green in their backyard. The green is ready to go once it’s laid. There’s no long settling in process and they’re very low maintenance. Just some brushing and keeping debris from the surface.
I want something better, what else do you have?
If you have the room and budget we can install a larger golf green that allows for full shots to be played to them. These greens are expensive, typically costing upwards of $10K-$15k for install – please contact me to learn more.
What to do next?
Download our FREE report that explains our grass products further