
In this article I want to highlight the key steps on how to build a synthetic golf green. Please use this article as a guide on whether or not building your own backyard putting green is for you.
Please note: We have a comprehensive DIY Guide on how to build your own putting green, and this guide is provided to all DIY customers (those that purchase synthetic grass from us) or feel free to purchase upfront (if you later decide to buy grass from us, we’ll refund your DIY Guide purchase)
The important steps
Design Ideas
The first step is to plan out your golf green. We strongly recommend that you draw your design on some paper and get very clear on what it is you want to achieve. Some key points of consideration are,
- Your overall size
- Hole locations
- Size of fringe grass
From here it’s easy to work out how much grass you’ll need in your budget. For reference, our grass is 3.7m wide and it can come in any length. A really popular backyard golf green size is 3.7m x 7m. And please make sure you order premium backyard synthetic golf grass – there are some nasty and cheap varieties out there that are not very good.
If you have any doubts or questions or concerns at this key design phase, we recommend you put your thoughts on paper and send through to us. We can assist you in coming up with the best green design and help you maximise playing space and minimise wastage.

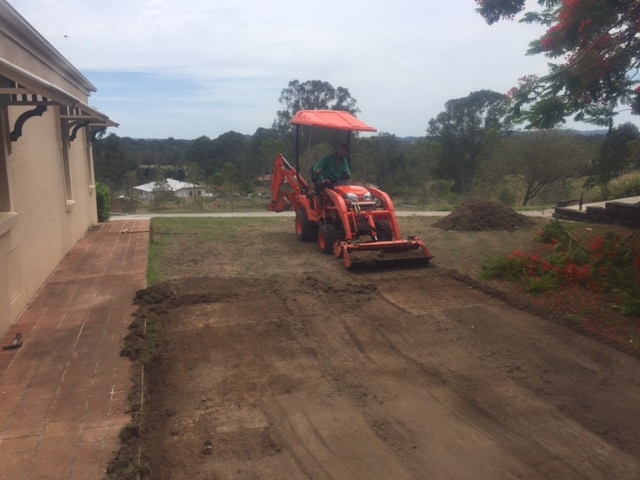
Ground Preparation
The first stage of ground preparation is to remove the exisiting vegetation. This means, the grass and about 50-100mm of dirt must go (for the average green, 75mm is a guide. For a really big green, that’s going to be for full lofted shots, you’ll need to clear 100mm).
To make your life easier, we recommend getting some help. Removing the vegetation by hand is hard work and a local excavation guy will be your best friend. For around $100 per hour he’ll have the ground prep done in no time. On a small area, in most cases, things will only take 3-5 hours.
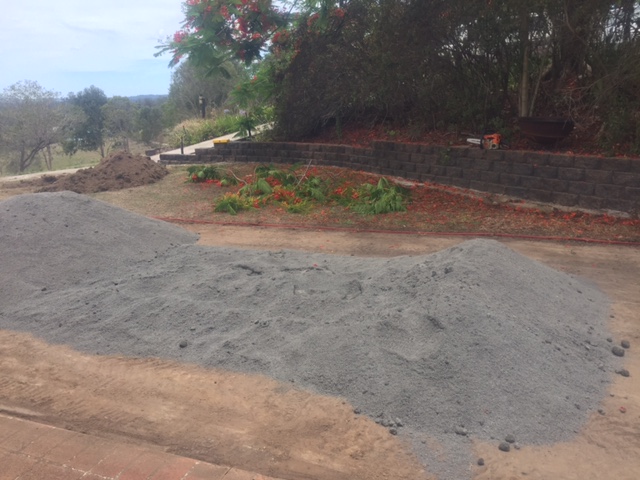
Baseworks
Now you’re going to need to prepare the baseworks. In a perfect world you’ll use around 50mm of roadbase and 25mm of crusher dust. The numbers are a guide and please contact us to confirm.
The roadbase ensures you have a stable surface and the area will drain well. The crusherdust enables you to get precise levels and makes a super smooth surface possible.
Please take your time with this step as your golf green will only ever be as good as your baseworks. Rushing this step will cause you lots of problems later.
Note: For small greens of under 40m2, you may get away with just a using crusher dust base. This is especially true if your green will not get lots of water runoff and it naturally drains well.
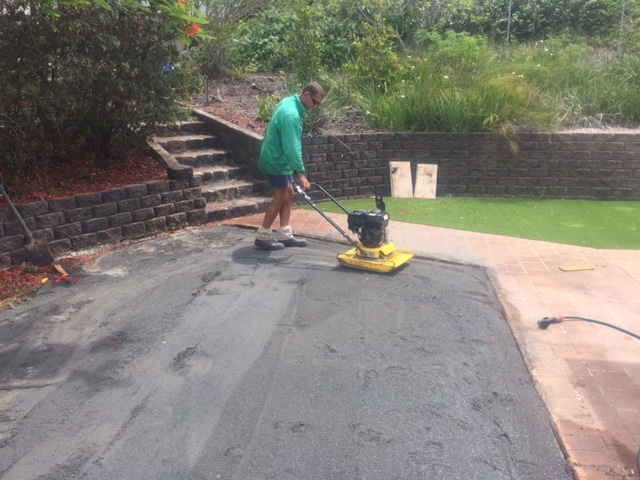
Compaction
Now you need to compact the area. A vibration plate is really your only option here. You can rent these from most hardware or backyard supply places and they are not expensive (around $75 per day).
Again, take your time to compact properly and don’t rush this step. And for best results, water the base and keep compacting. You can even leave your baseworks for a day or two to make sure everything has settled and it’s nice and firm.
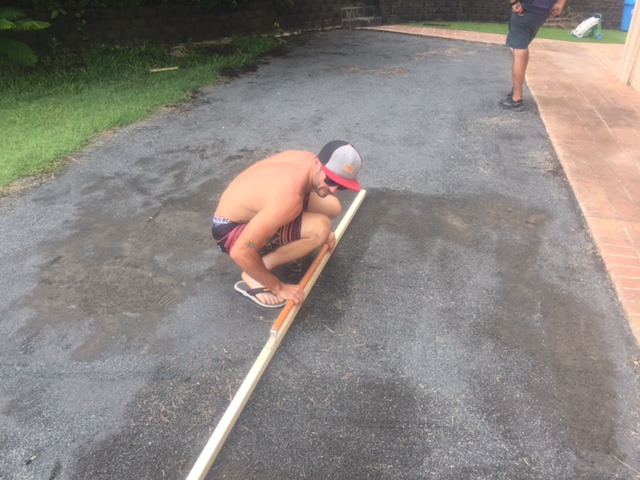
Get levels
Next comes screeding your green so you get levels just right. The biggest issues here are,
- Don’t go too steep
- Make sure the green will drain (you don’t want water pooling on the green)
- Finalise your hole locations
The biggest issue here is making your green too steep. While it seems like a great idea to have 3 tiers, humps and bumps, the reality is most synthetic golf greens are really quote small.
So the green levels need to be subtle. I have walked onto hundreds of these greens and you’ll almost certainly never be disappointed with some subtle breaks. If things are too severe the green will NOT be practical.
Insert cups
Now you need to insert the cups (yes, this happens before you think about laying any grass. Like most of the process, it’s not too difficult, as long as you take your time and ensure around 5mm of cup sticks above the surface.
And make sure you compact around the cup and smooth out all the footmarks.

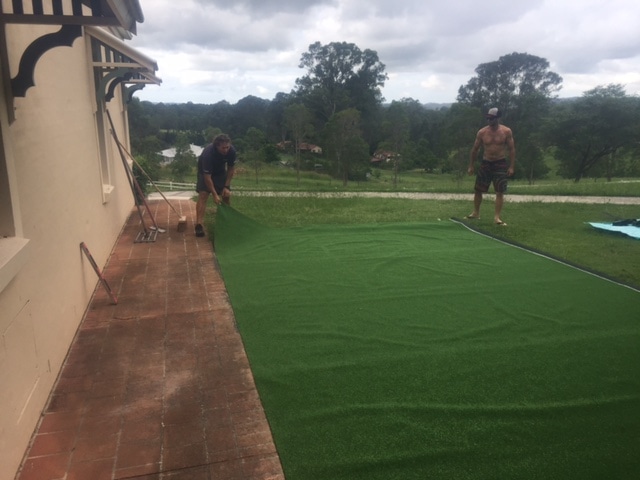
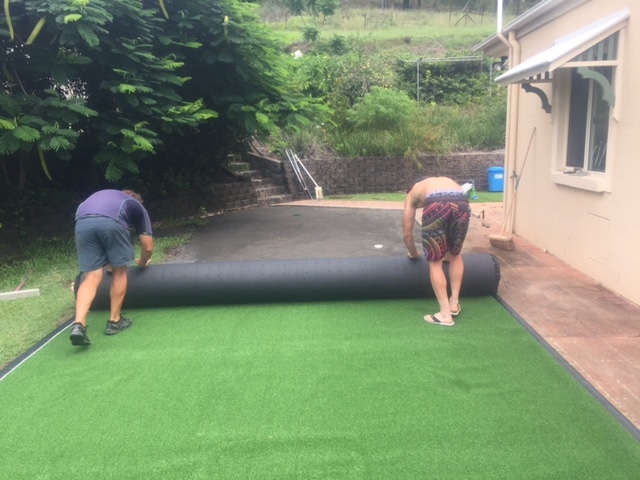
Laying the grass
Now we’re getting close. You can lay the grass over your green and position it in a way that minimises cutting and potential joins. Some points of interest are,
- Lay your grass out for a few hours to soften it (just makes it easier to move and cut)
- Triple check before cutting the synthetic grass. Any mistakes with cutting will cost you.
- Make sure the grass lays the same way. This is only relevant if you have fancy shapes or joins but it’s important.
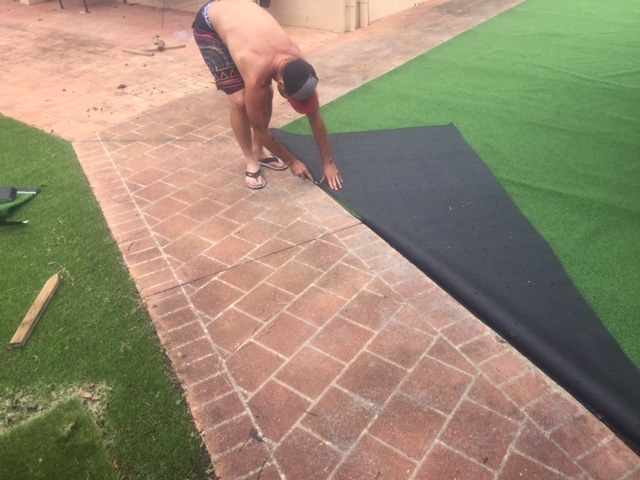
Trimming
Nothing too exciting here. You’ll need to trim the grass and make sure all the edges are done.
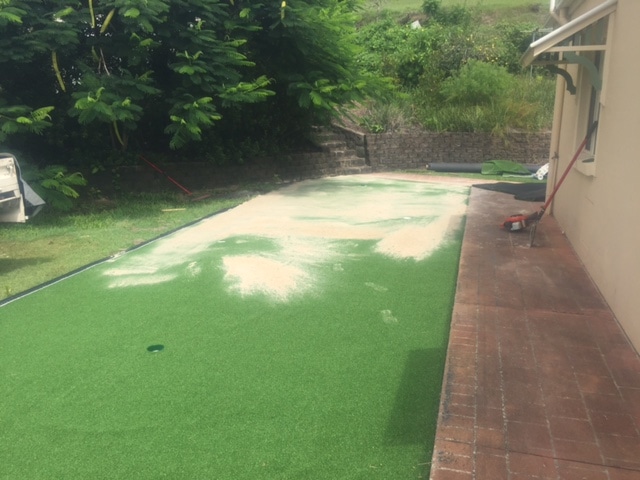
Infill
The infill is the secret sauce. It gives the green its speed and also weighs the green down so it’s not going to blow away. We recommending starting with around 8-10kg of infill per square metre and building up from there.
This way you can get the speed just right. It’s a lot easier to add the infill than removing it. Almost never will you need for than 15kg of infill per square metre.
Note: We recommend you use a specific synthetic grass sand. This is compaction and water proof and will not turn your golf green into concrete after some rain.
Enjoy your golf green
Now for the fun part. After some little finishing touches you are ready to enjoy your synthetic golf green.
And please get ready for,
- A lower handicap
- Owning the best backyard in the street (or suburb)
- Lots of putting parties
- Mates who want to keep coming over to use it
- Getting to spend way more time at home playing golf
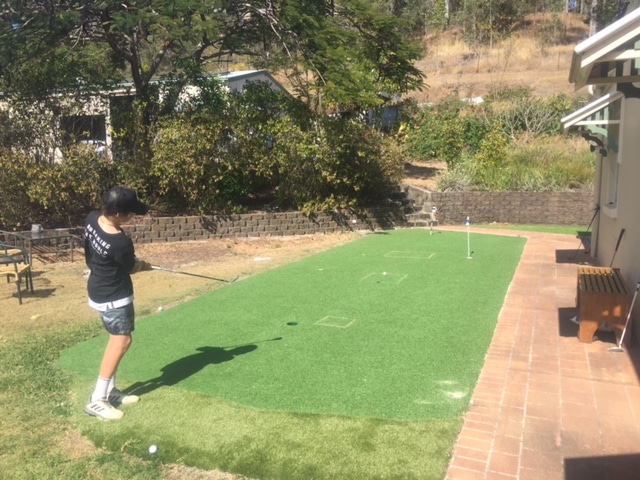
And that’s about it – this is how to build a synthetic golf green. If you keep your design simple (no fancy shapes and limit joins) you’ll certainly be able to build your own synthetic golf green. If you can get some help with the excavation and baseworks, there’s no reason why you can’t complete your green in a weekend.
We’ve had clients from all over Australia get the job done and become the proud owner of a sensational putting green.
Don’t forget, you get access to our comprehensive DIY guide when you order synthetic golf grass from us and we’re here to assist you with any questions you may have.
If DIY seems a little bit too hard for you, then please contact us as we can certainly offer you some full install options.
If you’re ready to start the ball rolling, the ideal starting point is to get a quote and tell us what your dream golf green will look like.