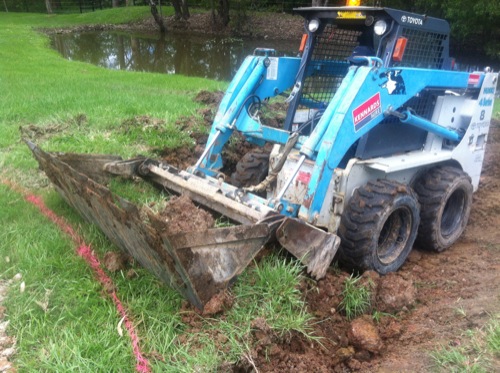
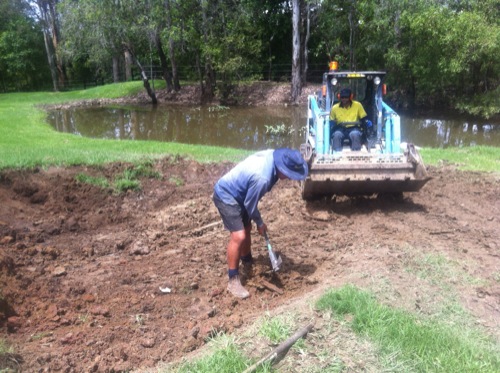
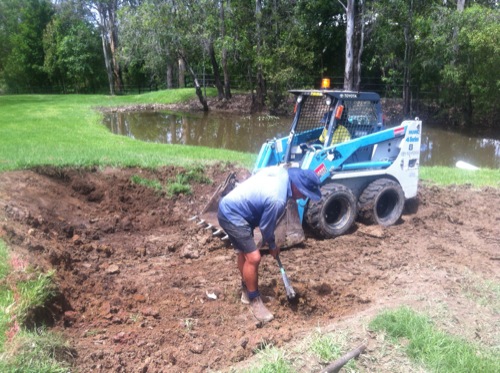
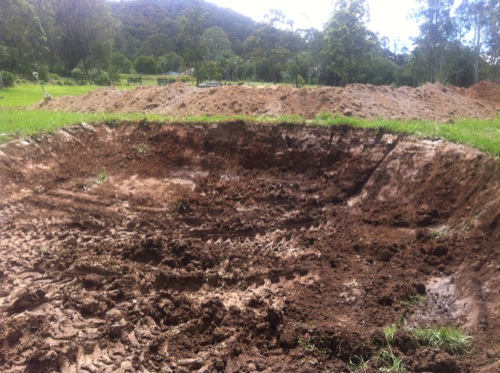
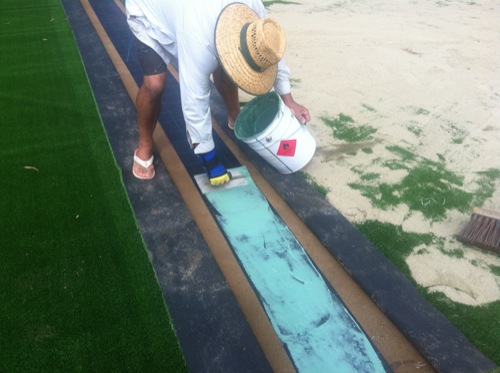
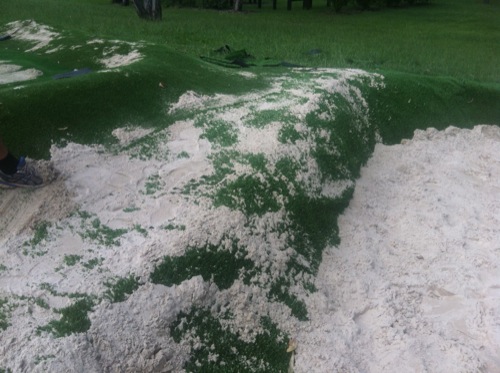
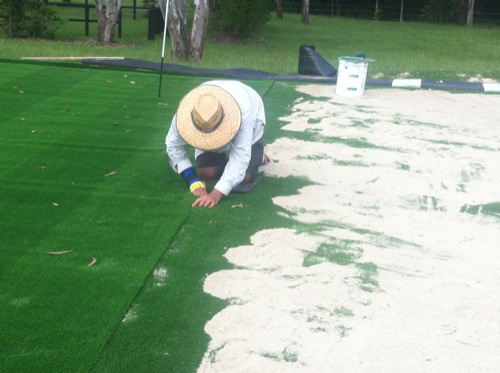
I think a picture can tell a 1000 words so I took a lot of photos of my Supreme Green during all phases of the construction. Bruce also had some photos on his website and that is how I think I initially found him. Here’s a full range of photos, with descriptions, from my golf farm. This is going to be a long post, but if you’re keen to SEE the full story about the process involved, then you’ll enjoy scanning through:
Early construction and shaping of the greenMaking a start on the bunker constructionMore digging of the bunkerDigging out the bunker, with dam behind. The Bobcat makes it easierThe Bobcat biting into the surface. You can see where Bruce has marked out the designDigging out the final part of the bunker by hand. This helps shape and get it just rightBruce doing more diggingFreshly dug out bunker with the green aboveThe bunker smoothed out and almost ready for sandA nice high lip for serious bunker practice.Early preparation work of the green base. It needs to be firm, yet soft enough to allow impact absorption.Marking out the green contours. Important to get this right so you’re not left with a ridiculous putting greenThen the rain hit. A day or two before completion the heavens opened up.The place turned into a mud pit. The green base is to the right hand sideThe dam is full and the bunker is getting wet. Bruce installed a drainage system to help it cope.Marking the green contours for a second timeBruce blowing excess debris away prior to grass layingGetting the green surface just right. A lot of time and effort went into making sure it was perfect.Bruce keeping an eye on Adam. I think this image was the 3rd time the green needed to be set. Bloody rain!Finally, the grass is ready to be laid. Bruce is trimming the grass so it can be totally seamless.The unraveled grass ready to be set down into place.The surrounds grass being added. This grass is different from the putting surface but is excellent to chip from. Also gives green realistic look.Surrounds grass down, but not yet firmly in place. Bruce and team also setting hole locations and making sure really smooth for better roll.Drainage and plastic added to bunker. The plastic stops weeds growing through and helps keep the sand in place.Getting the cups in placeBruce and team take care an attention with the hole insertion. If it’s not square then the ball won’t roll properly into the cup.The back hole location set. I wanted the holes cut close to the edge to provide greater options and challenges.Putting surface grass ready for installation. Note the pattern effect…Tip truck dumping the bunker sand. Nice and white, almost like Augusta!The first strip of putting surface is down. It’s nice and greenYou get a good stripped effect from a distanceGetting the bunker ready for the first shots. I kept well away from this hard workThe grass is down. It’s not ready for play and the rain was still not finished..My putting greenGluing the surrounds grass down.The secret sauce. Bruce applying the first layer of Profill. Tough job, especially in hot and humid conditions.Helix yarn grass getting glued into place. The Profill also keeps it from going anywhere.Special synthetic grass glueThe bunker, lip and surrounds. The sand weighs it down so it stays firmly in placeBruce making sure the edges are seamless. He took ages to ensure this part is perfect. You have to look really hard to find any edges on my green.The hired help carting ProfillBrushing Profill in with machine – Koda keeping an eye on BruceAlmost done and Clare testing out the green. It was really slow at this point but still funMe attempting the impossible shot from down near the dam – almost got it…Getting closer. The rain has finally stopped and Bruce adding finishing touches.All that’s needed now is some hand brushing to finish it offTop tee construction. Whacking the ground so it’s nice and firmAdding a rubber hitting mat for club impact absorption. Must say my golf tees are nice and soft to hit from.The finished teeBruce taking the first hit from the top teeThe view from the top tee to the finished green.Bottom tee almost finished and a good look up the fairway. The green is located behind the clump of trees on the left, around 130m awayThe last job – inserting the hole cups so they can hold a flag
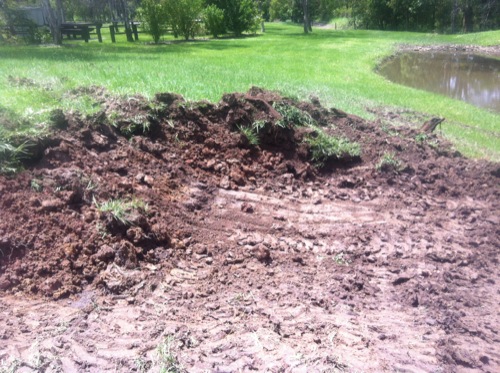
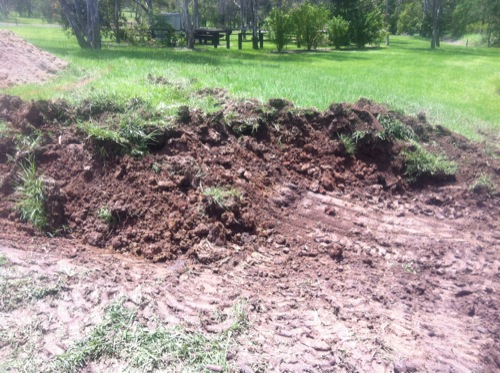
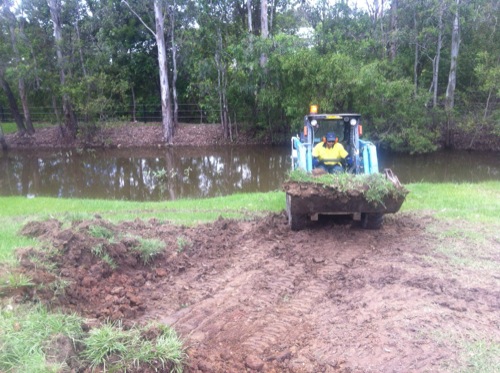
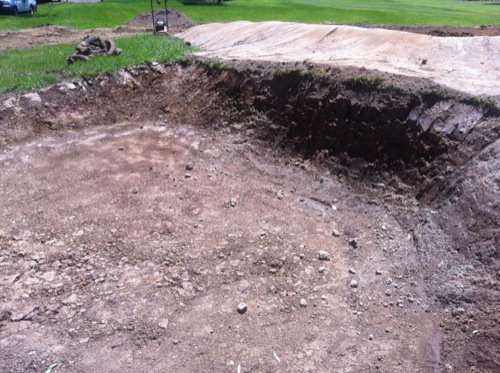
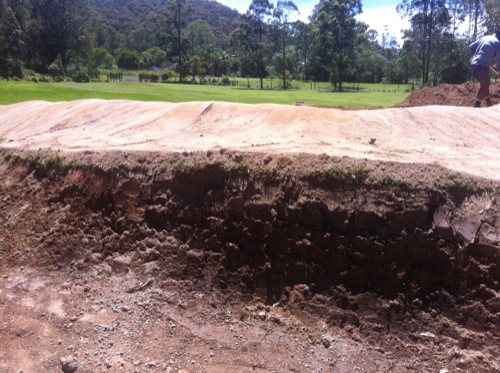
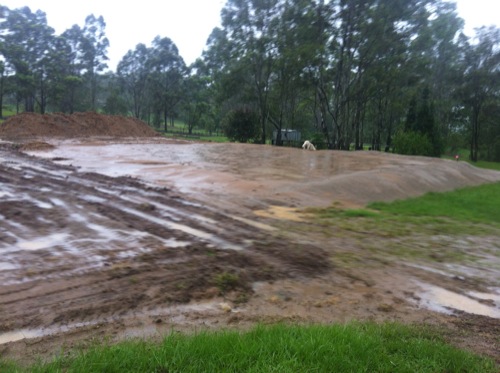
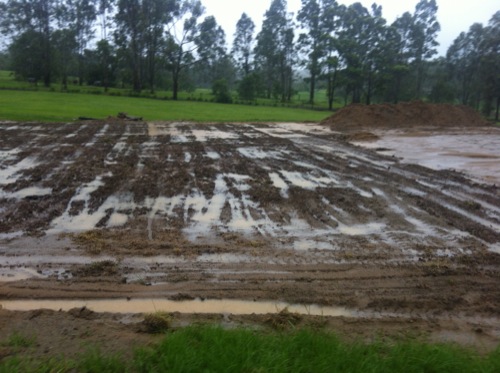
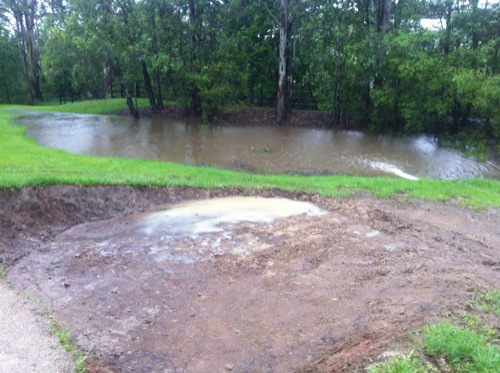
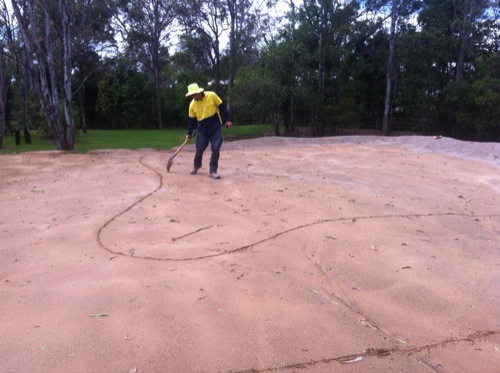
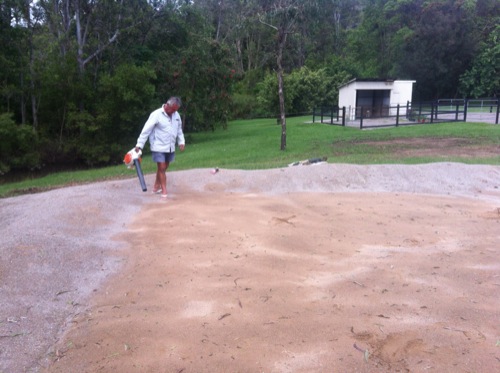
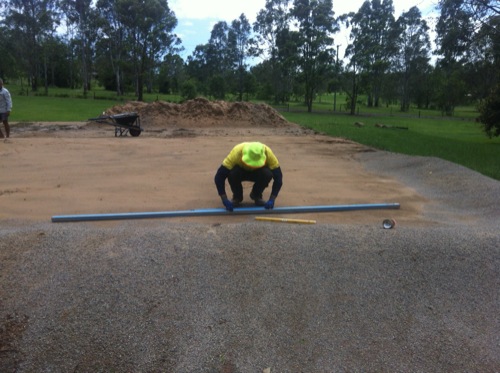
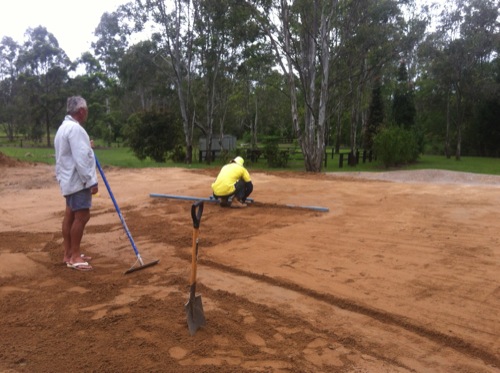
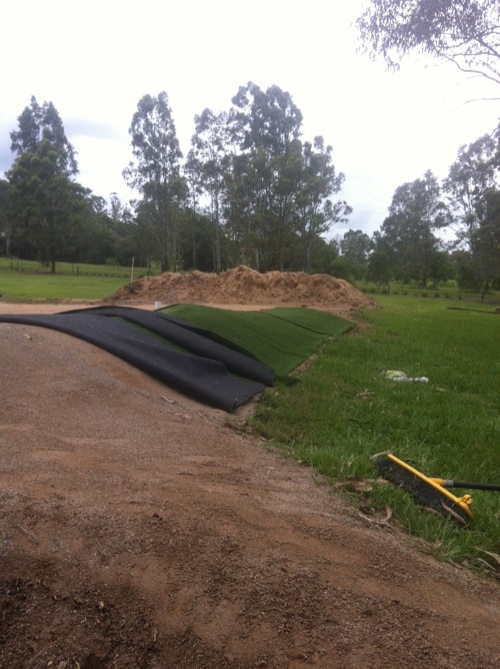
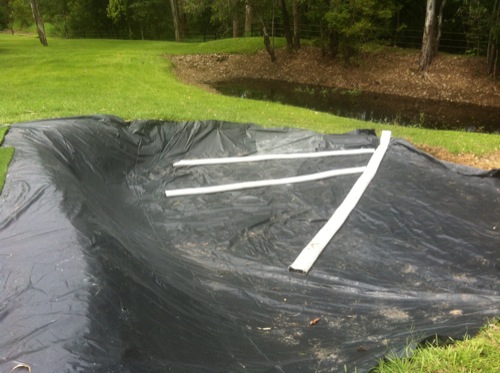
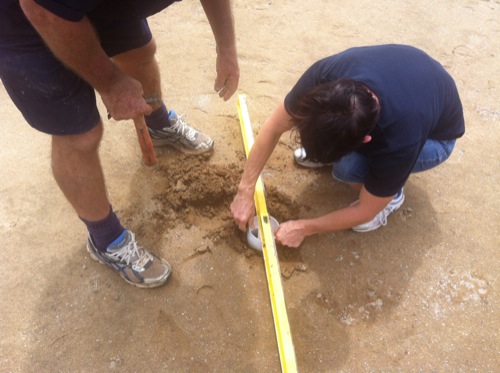
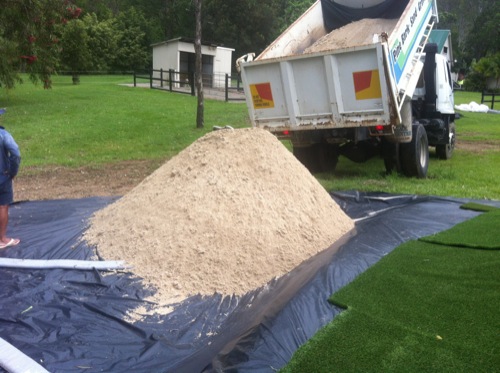
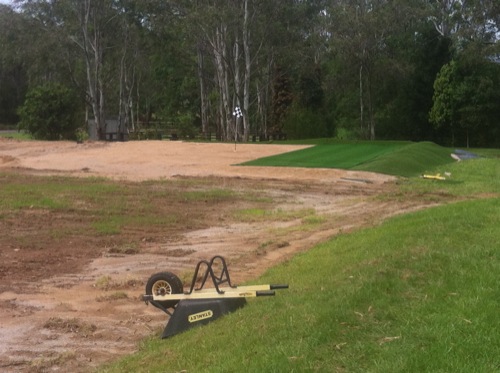
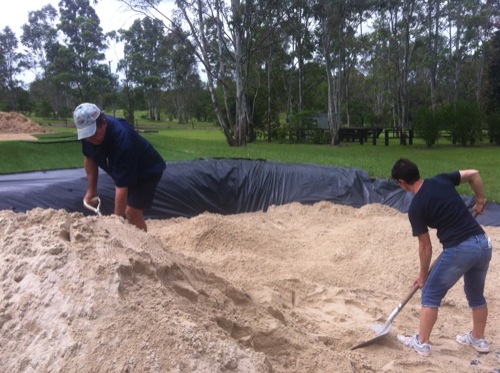
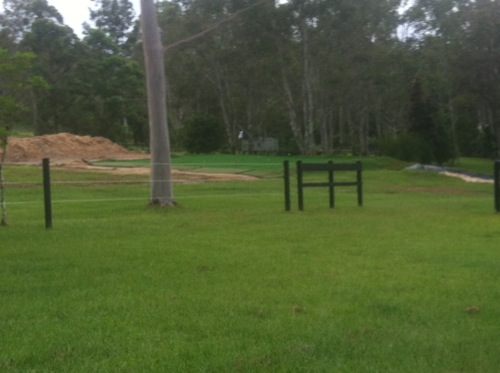
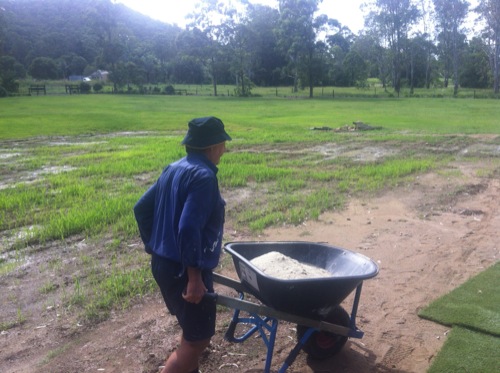
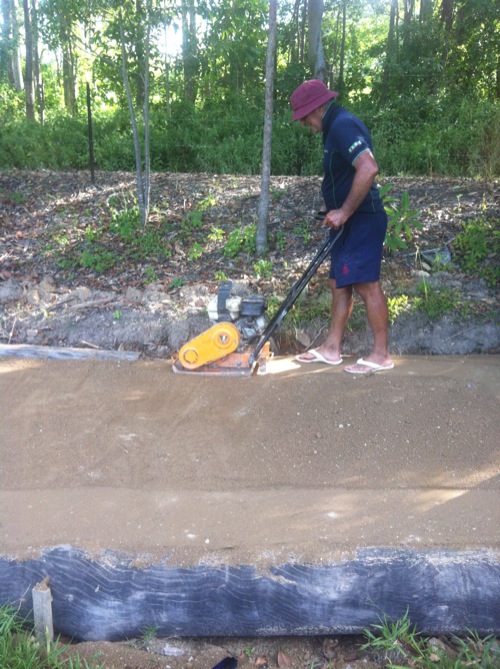
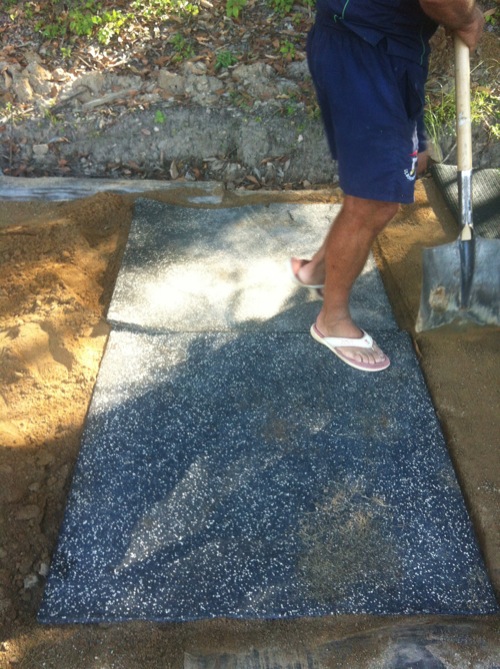
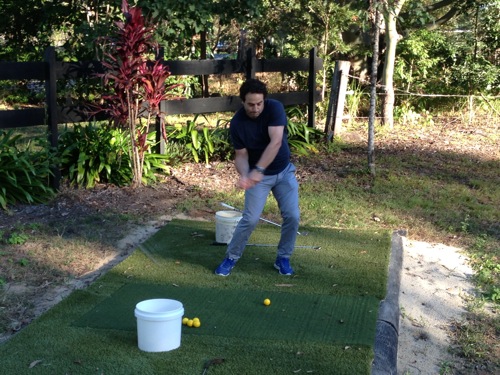
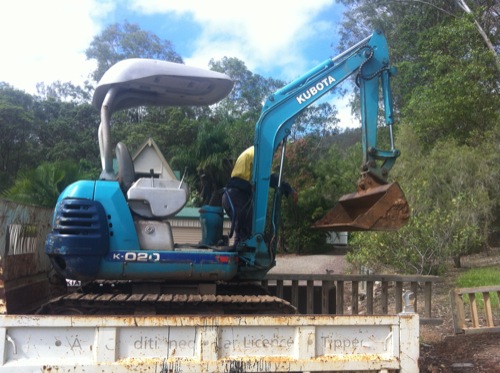
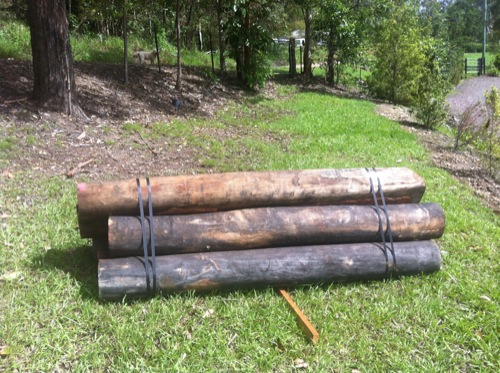
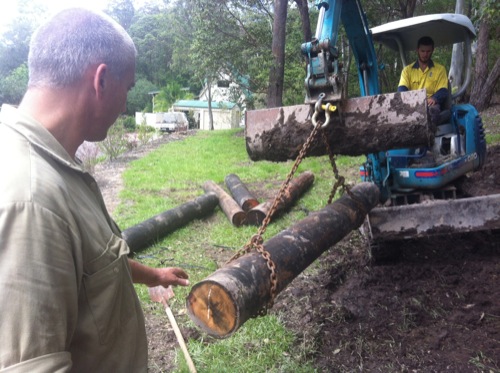
The next series of photos are from the tee construction. To help keep costs down Bruce recommended I build these myself (I have two tees). Anyone that know me understands that I’m hopeless when it comes to construction and anything that resembles hard work, so I called on the brother-in-law and his mate. It was a bit of fun, especially with the dodgy tip truck that I got to drive.
Getting the excavator off the truck was a nightmare – thank God for David. I would have killed myselfThe heavy logs up at the top tee.Moving the logs into place. I was hiding behind the camera when all the hard work was neededThe bottom tee ready for sand and rock base
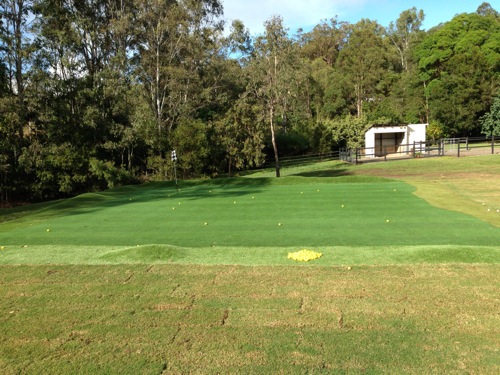
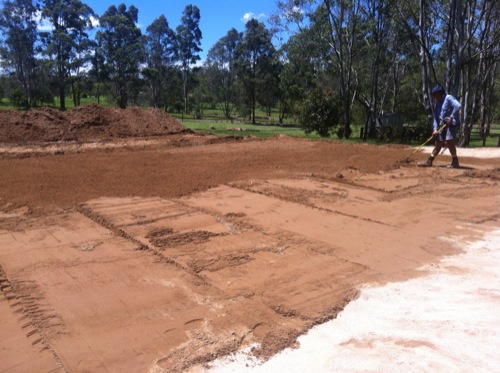
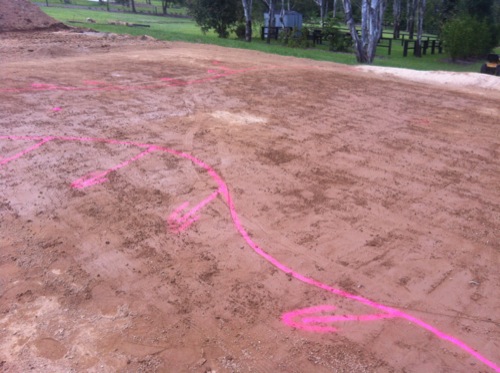
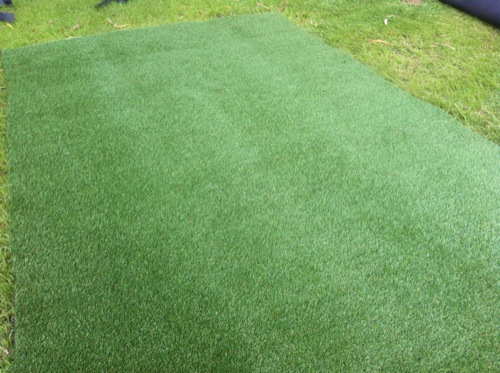
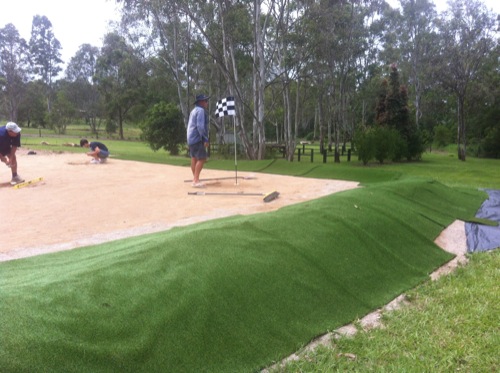
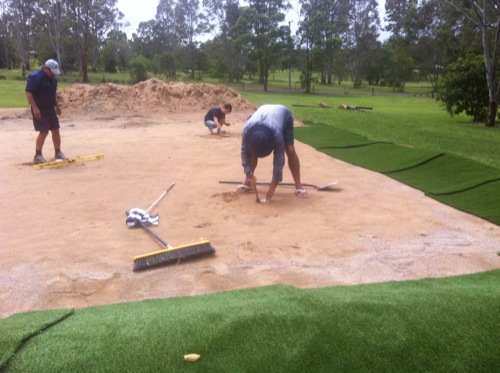
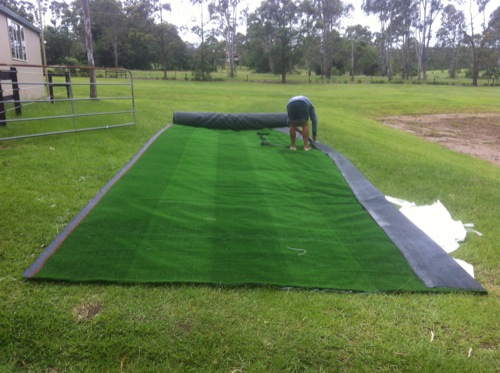
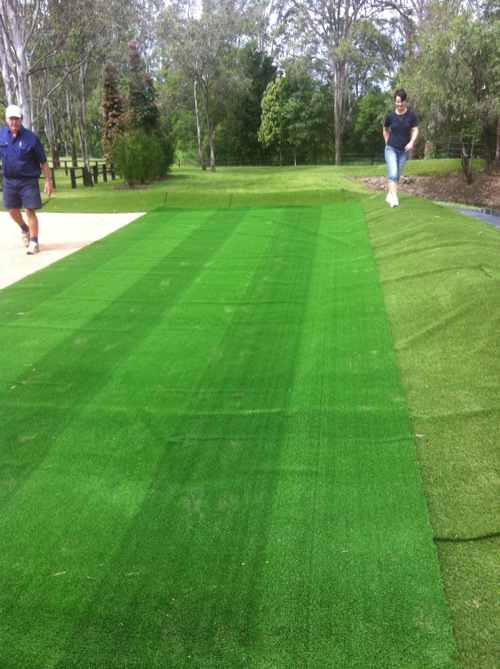
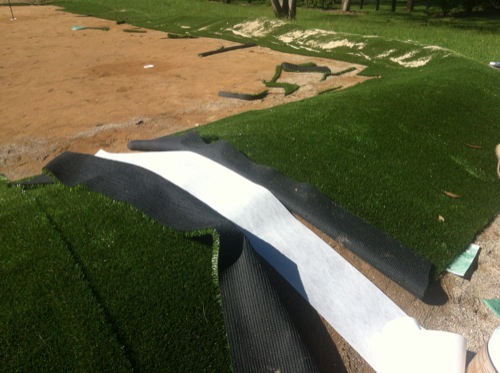
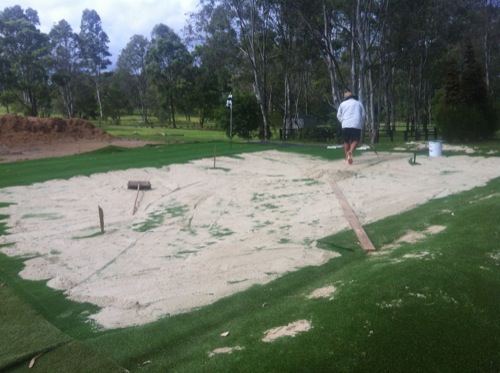
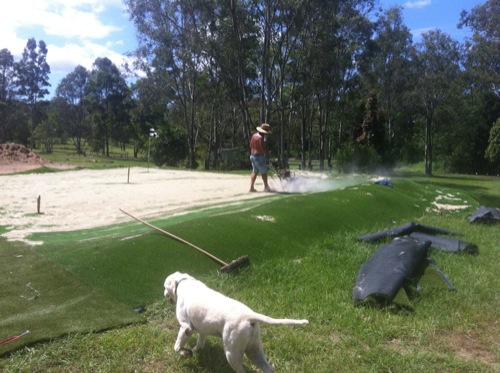
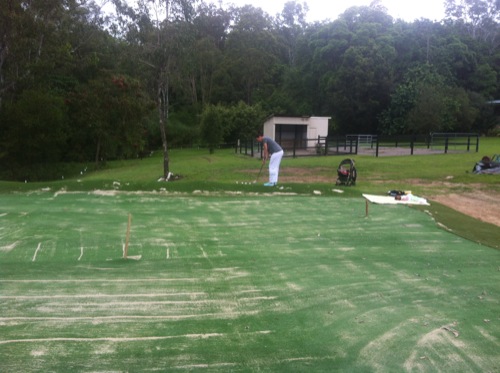
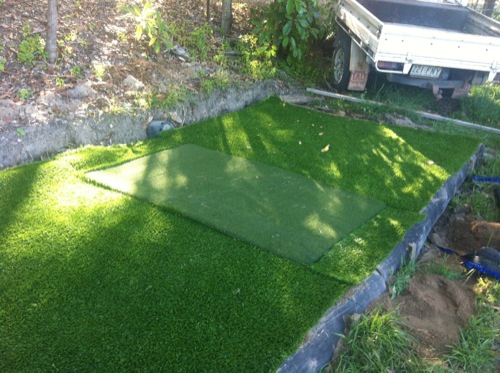
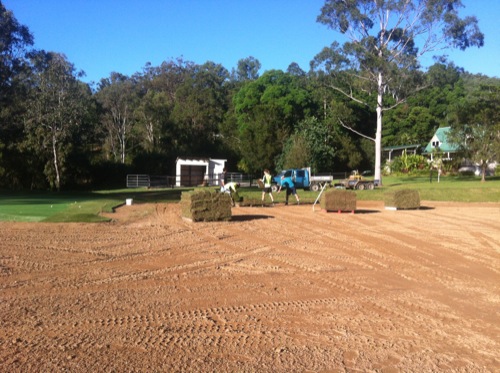
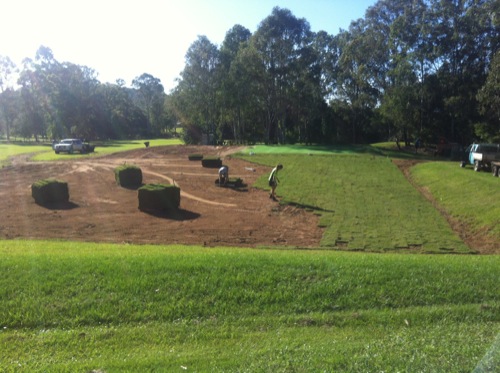
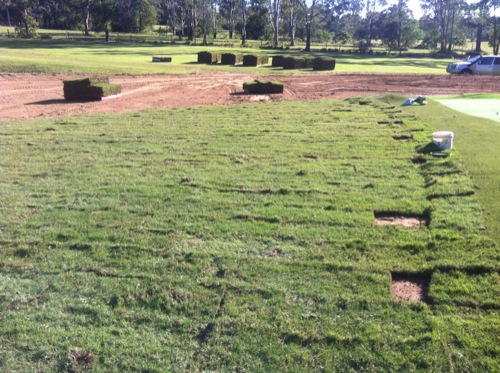
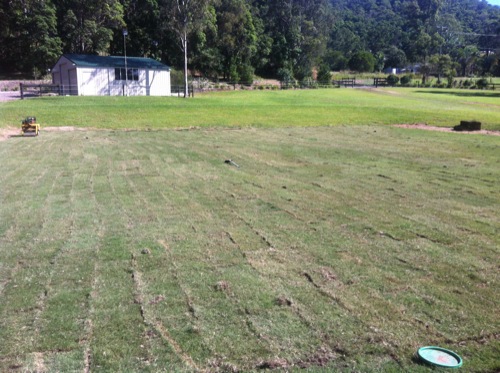
The following images are from when the turf was getting laid. The golf green was built on top of a horse arena (don’t tell the previous owners) and the grass was going to take too long to grow so I bit the bullet and got some turf trucked in. The turf is the same fairway grass used at the Coolum Resort. It should be pretty handy in a few more months.
The turf farm guys hard at workThe boys getting to work laying the turf on the freshly smoothed out short game areaSlow but steady. It took these guys a few hours to lay all that turfMaking sure the real turf and the synthetic turf have a good edgeAlmost done – 1000m2 of lovely couch grassThe last step was the whacking machine to help settle the grass. This bit was a bit of fun…Watering the grass. The best bit about synthetic is it is low maintenancePumping water up to the new grass with my new firefighting pump. If we ever get hit by fire I’ll be well prepared.
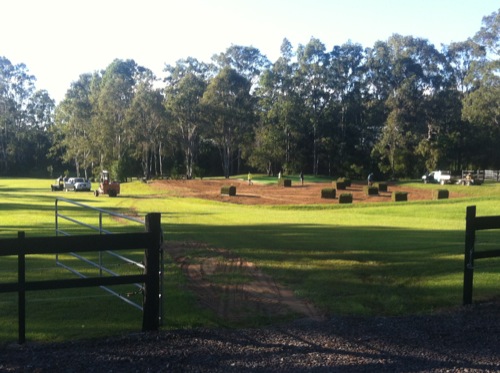
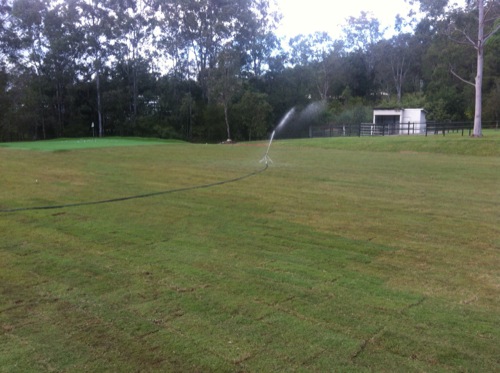
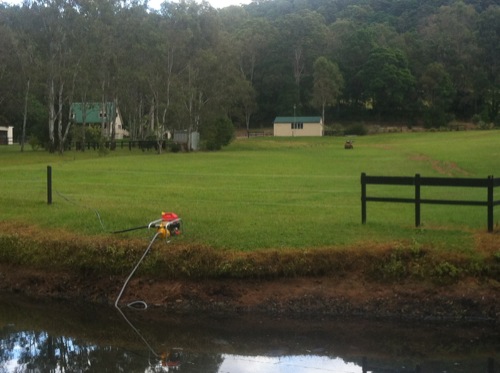
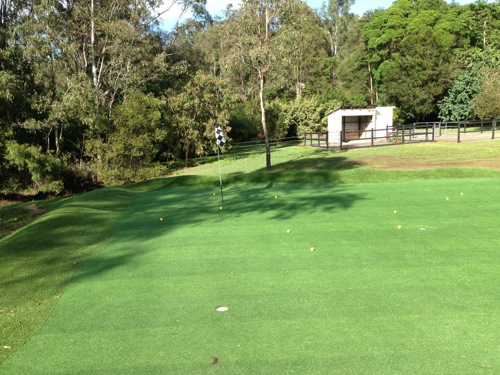
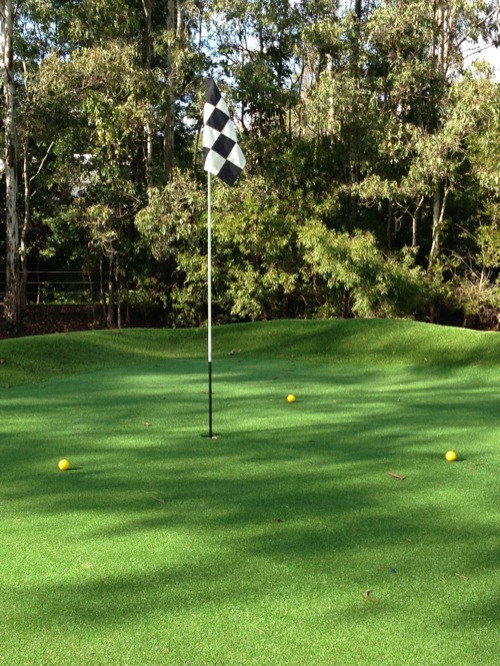
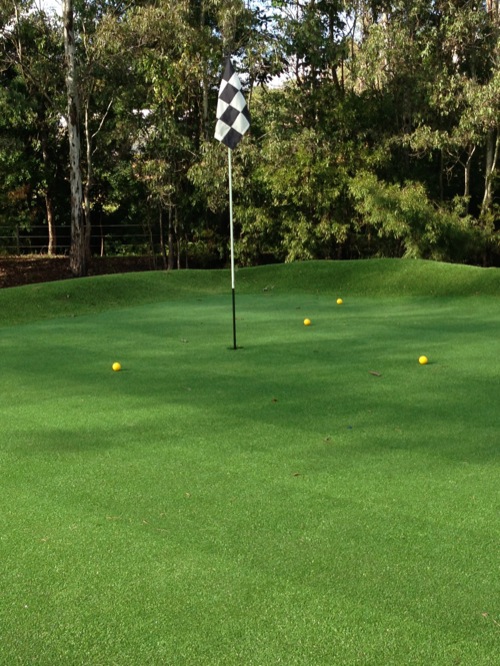
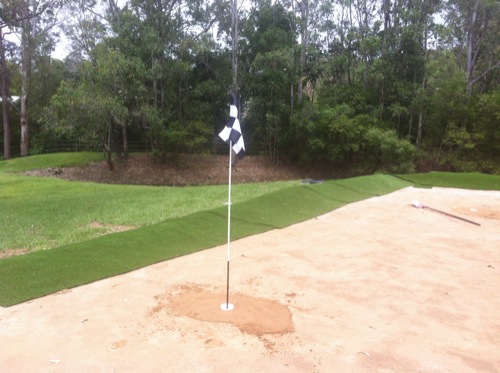
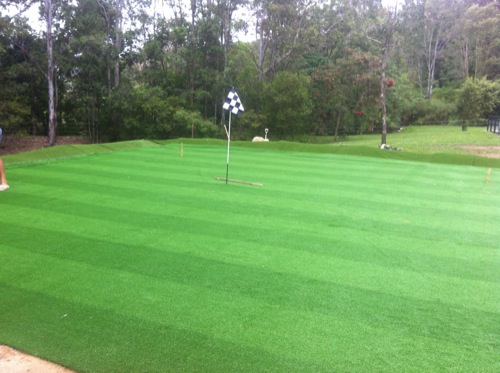
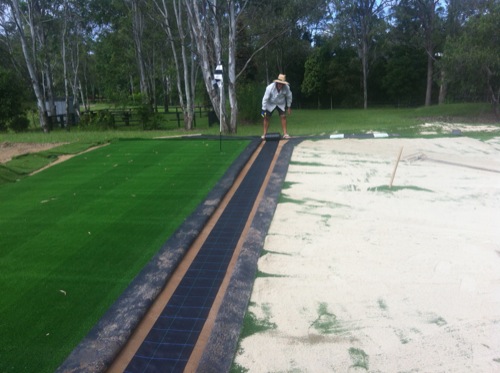
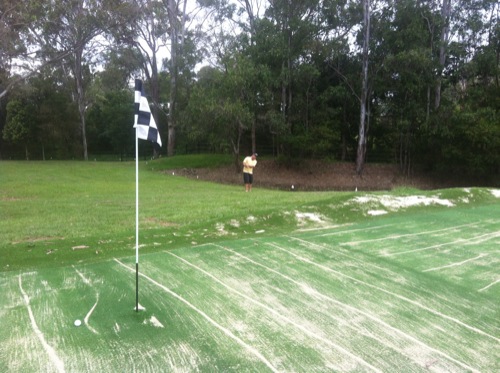
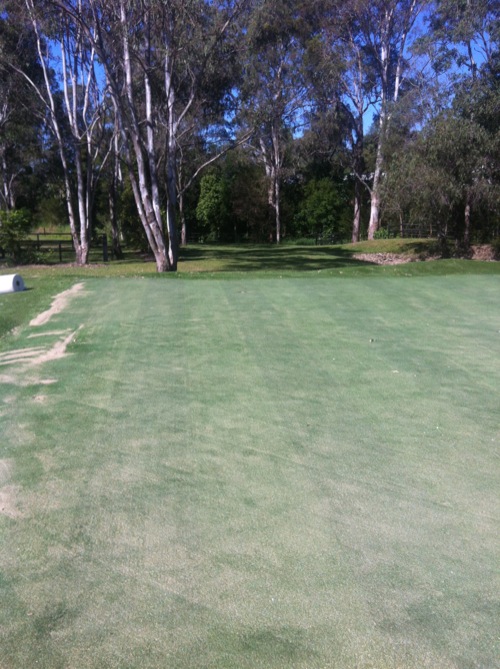
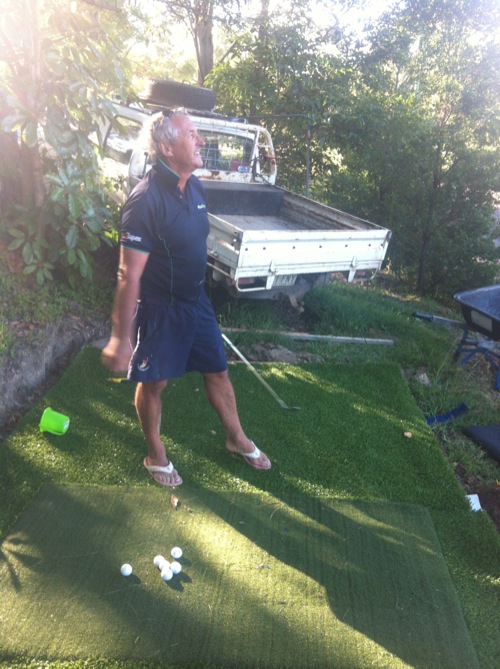
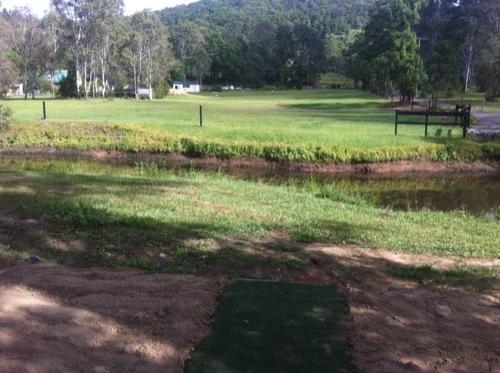
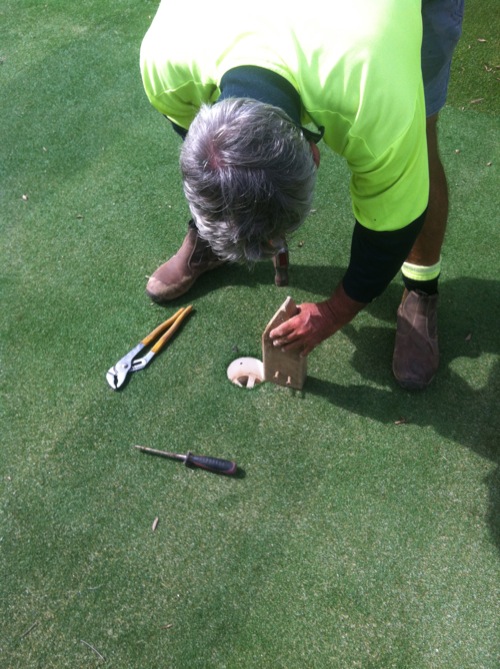
Here are some final happy snaps of the tee and putting green. At time of writing the green is 4 months old and it is going strong. I can’t fault it and I love it, using it almost every day. It really is a little bit of golfing paradise.
Putting green ready to go. I have a heap of balls strewn everywhere for random practice most nights.My favourite pin location – this gives me plenty of fun from the bunker (behind) and for chipping and pitchingClose up of the back right hole location.Another shot taken with my Iphone… The grass looks real in these photos.AJ hitting a ball or two from the bottom tee. This bloke is a serious golf geek and he loved the set-upMe hitting some high and soft bunker shots.
11 replies to "My synthetic golf green photo gallery"
Peter Rugg
August 11, 2013
A lot of sweat must have gone into building your dream! It comes no surprise to those who know you that none of it was yours. Who rakes the bunkers for you now?
Ruggy: I learned from the very best. You’re a true champion when it comes to doing very little but still looking busy. I’m waiting for you to visit so the place can get a good tidy up…
Hey Cam, Congratulations mate that looks terrific, you should be very proud! Not to mention exercising your finely tuned work dodging abilities coming to the fore! Can’t wait to get up there for a look! cheers
Thanks for your hospitality today Cameron, it was great to get up and see what the rest of the family have been raving about. And the raving was completely justified. Your place is a ton of fun, practical, and just quality.
Won’t be the last visit I hope,
Thanks again,
Good stuff Simon. No worries. If you could spend sometime working your short game you’d definitely drop a few more shots. Let me know your thoughts re the training tools. You’re welcome back anytime (and the Old Boy 🙂 )
11 replies to "My synthetic golf green photo gallery"
A lot of sweat must have gone into building your dream! It comes no surprise to those who know you that none of it was yours. Who rakes the bunkers for you now?
Ruggy: I learned from the very best. You’re a true champion when it comes to doing very little but still looking busy. I’m waiting for you to visit so the place can get a good tidy up…
Hey Cam, Congratulations mate that looks terrific, you should be very proud! Not to mention exercising your finely tuned work dodging abilities coming to the fore! Can’t wait to get up there for a look! cheers
Thanks Hinchy – you’re welcome anytime for some golf and a beer!
Thanks for your hospitality today Cameron, it was great to get up and see what the rest of the family have been raving about. And the raving was completely justified. Your place is a ton of fun, practical, and just quality.
Won’t be the last visit I hope,
Thanks again,
Simon
Good stuff Simon. No worries. If you could spend sometime working your short game you’d definitely drop a few more shots. Let me know your thoughts re the training tools. You’re welcome back anytime (and the Old Boy 🙂 )