
Here’s a fantastic case study of a DIY synthetic golf green one of our customers has recently installed. It’s titled:
My Canberra DIY Putting Green Success
I had this 7×7 metre area in the backyard that was being under-utilised so when Cameron’s offer of a DIY putting green arrived in the email inbox I thought, “that would do the job perfectly”. So this started my journey to having my very own putting green in beautiful suburban Canberra golf green.
While May could be an ideal time to do this in many parts of Australia, Canberra is already getting a little cold by then. Cameron was very responsive to my questions (for example, how big, what direction, how many cups and where to place them) and having ordered the green, cups, holes and flags, they all started to promptly arrive over the next few weeks.
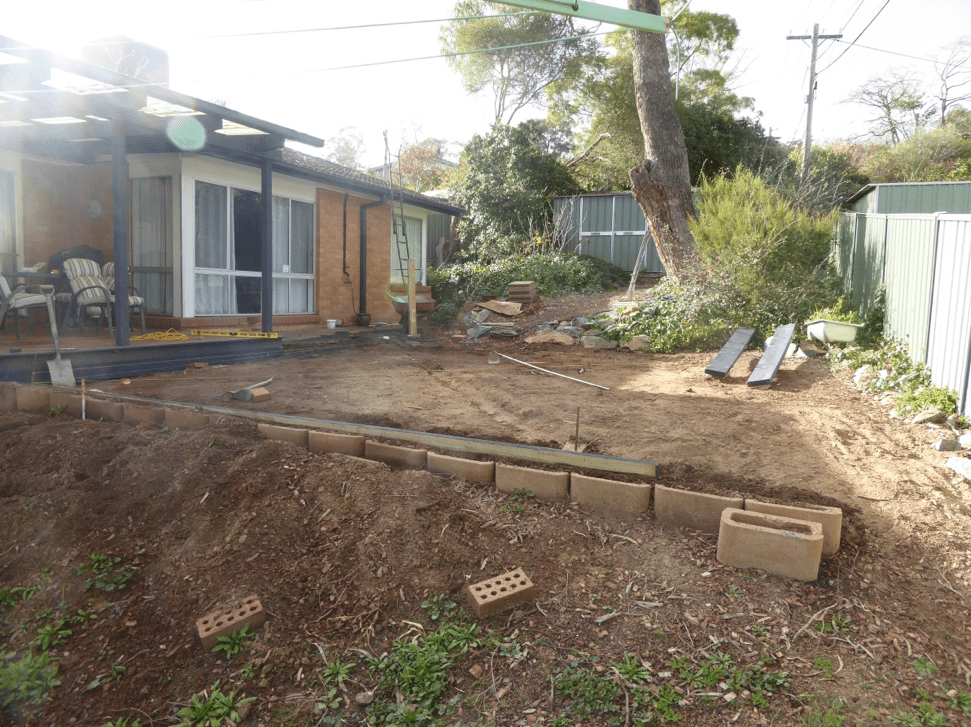
I used the winter months to slowly prepare the putting area ready for laying the grass once spring and warmer weather arrived (I felt the green would lay better if it could get some heat into it and this proved correct, more on that later). Being a sucker for punishment I undertook all this by hand, trailer, wheel barrow and bought the levelling tool suggested by Cameron which made the job a lot easier. Some assistance from wife, son and son-in-law also helped.
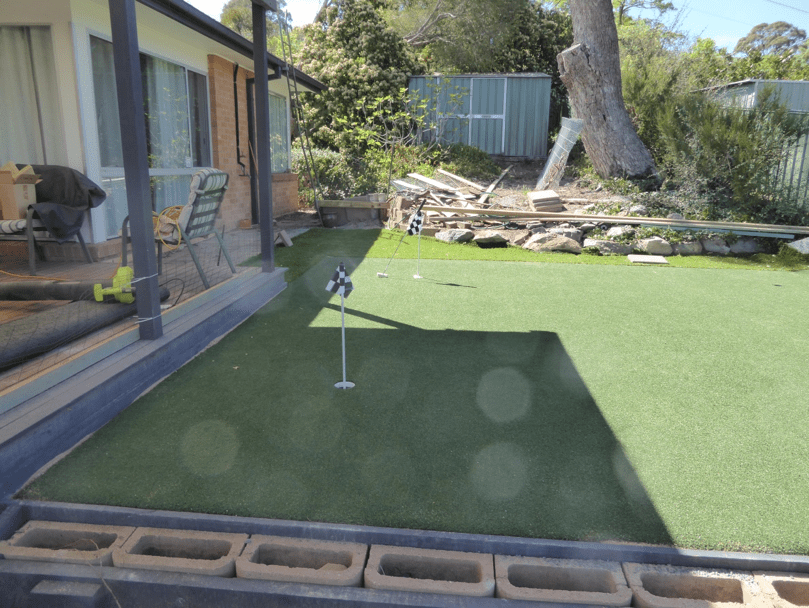
The area had been fairly level (did have an inflatable pool on it many years ago) so first I manually re-levelled the 7×7 metre area and because the base was in good shape I then added about 50 mm of crusher dust to the levelled ground.
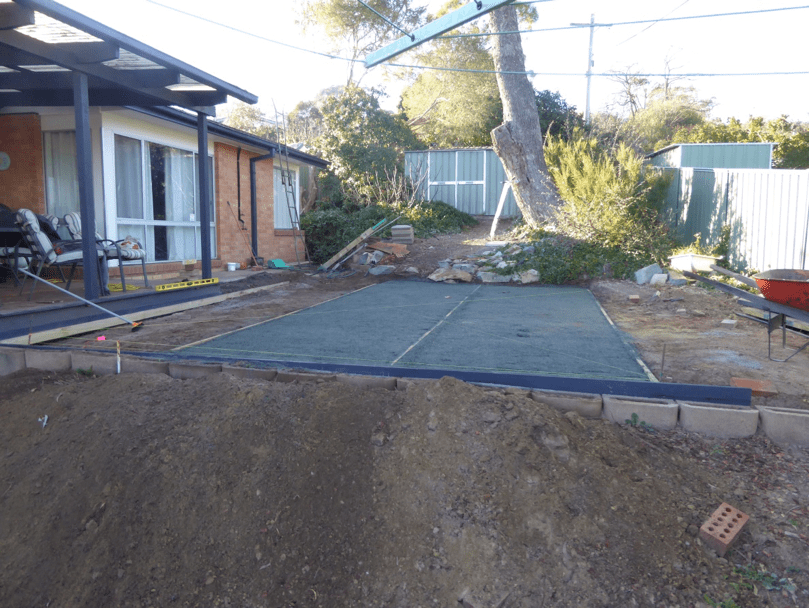
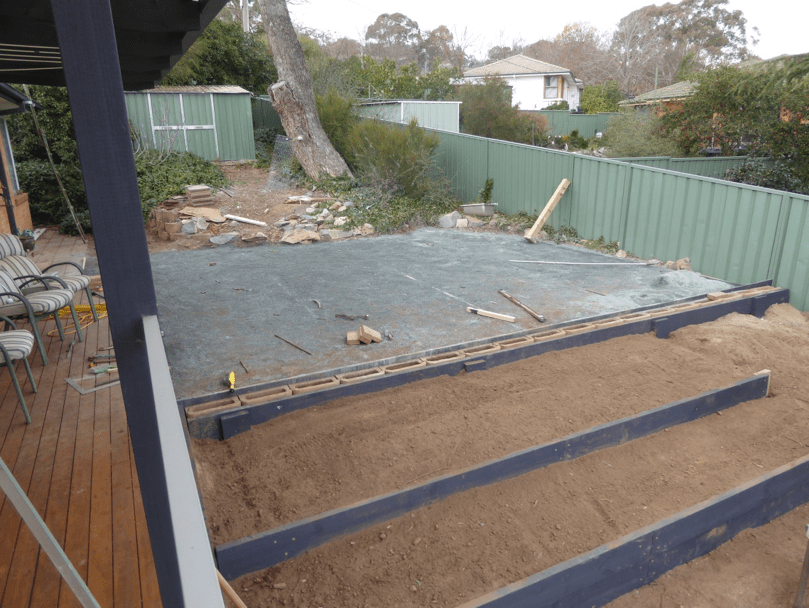
In the photo below you will notice that at about 2 m intervals I placed pine boards to ensure I could manually screed the entire area level and to the desired slope. Once the screeding was finished I removed these boards.
The area was level from the house to the fence and sloped about 75 mm from back to front for water drainage. Have had some heavy rain since completion this has confirmed that the drainage has been good.
Deciding how to attach the grass to the surrounds took some thinking about. Finally, I boarded 2 sides (with treated pine) and used the hammer and bolster to tuck it in (that worked well) and on the rougher areas I tucked the rough under and around the rocks and bolstered the rough into the paving area. The grass is going nowhere.
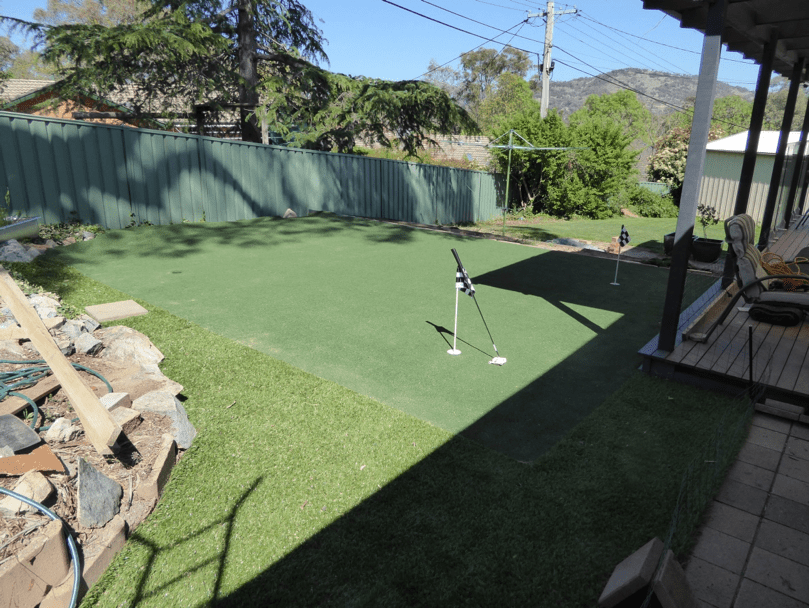
The addition of rough around part of the green has been both an ascetic and practical addition. It allows me to putt onto the green (either golf balls or Almost Golf Balls). Surprisingly the “Almost Golf Balls” putt very well on the surface as well.
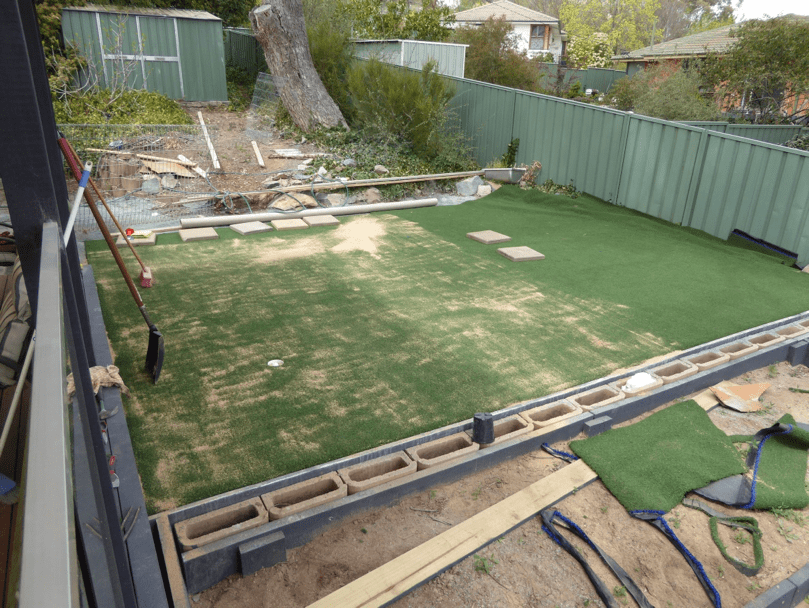
Cameron suggested to not over-do the number of holes and certainly the 4 he recommended with there placement was spot on. I initially thought his suggestion of how close the holes were to the edge a little too close. I am please I stuck with his dimensions, they are perfect (you want more length to putt and the behind length is not nearly as important).
The green is good to putt on and enough of a challenging with the drainage slope to always provide something different with line and length.
Reflections now that I have finished: Even though the flags seemed expensive (I only bought 2 originally) once the green was finished it was really missing not having the 2 extra flags so I bought them.
I chose 2 standard cups and 2 Platinum cups, both work well, I possibly would go to all large cups if I was doing it again.
Thanks Cameron, the ease of installation and performance of the green is everything you promised it would be.
Milton