Yesterday, Bruce too me to visit one of the earliest synthetic golf greens he has installed. It’s located in the Brisbane suburb of Brookfield and construction was completed almost 6 years ago. Bruce was going to do a service and I was tagging along for a sticky beak and to hit some shots.
My initial thoughts were that this green was going to be rundown, be too hard and way too fast. But I shouldn’t have doubted Bruce and this grass technology – this backyard golf green was nothing short of amazing.
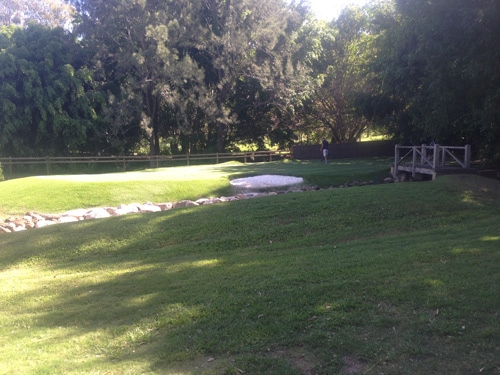
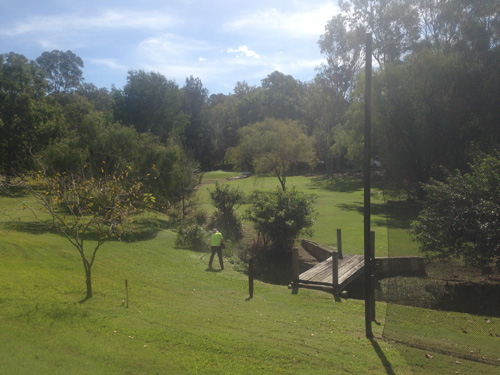
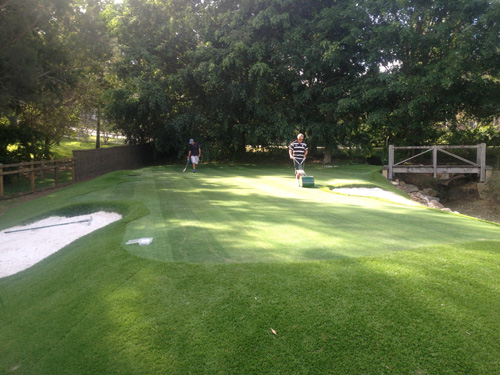
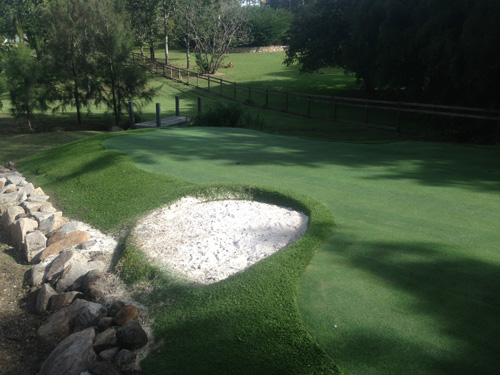
The property is brilliant. It’s on some rolling land with a small “dry” creek running down one side of the green and then meanders through the rest of the property. The putting green located in one corner, under some huge trees (that provide lots of shade) and with a bunker on either side. There are also three tees, giving hitting access from 30 metres, 85 metres and 110 metres. The two longer tee shots provide a very fun and challenging par three experience.
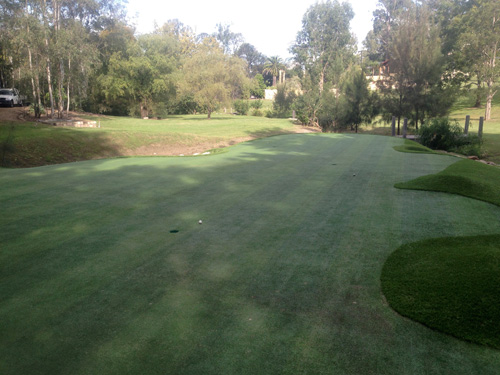
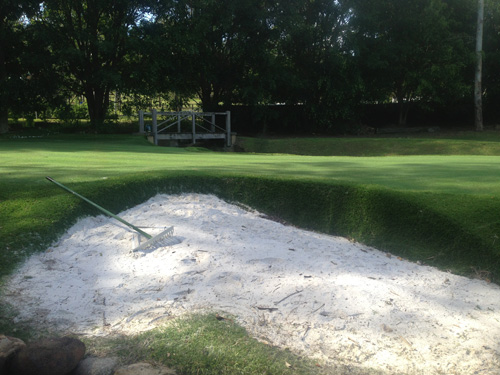
The green is narrow at the front, and then opens up into a larger kidney shape further into the rear. The bunkers provide good reference points and no doubt lots of sand shot practise. The creek runs in front of the back tee and there’s a tricky shot that must negotiate the trees, creek and then the bunker before you find the putting surface. This tee would make for one hell of nearest the pin competition.
The green itself is raised (to be protected from floodwater that gushes through the creek) and there’s a generous slope from back to front. The undulations provide all sorts of interesting putts while also aiding in stopping the balls when struck from the par 3 tees. You could spend hours putting on this beauty, but when you add the ability to chip, pitch and play lofted shots, you’ve got yourself a green that will give years of enjoyment.
“We love it. Actually, we’re having a bash here tomorrow with my sons and our friends, so your timing to give the green a service is perfect”, said Charlie the owner.
“Do you have any concerns with the green?”, asked Bruce
“The only thing is getting the ball to stop. We have some trouble with that. Is there anything we can do to help pull up the ball?”, said Charlie.
This is where I chimed in.
The biggest issue that golfers have with stopping balls on the green isn’t the green itself, it’s the type of golf balls used. Charlie had a bunch of miscellaneous golf balls scattered around the green – most of them were hard (rocks) range balls.
“Charlie, you’re using these cheap range balls. They’re simply too hard. Tiger Woods wouldn’t be able to stop them. You’ve got to use a premium ball – these will spin more and react perfectly with the green, let me demonstrate.”, was my response.
My pockets were loaded with a bunch of Pro V’s and I raced to the back tee. My first few attempts were pretty bad (I was feeling the pressure), but I then managed to strike a good one. I was hitting back into the sun, so couldn’t see the ball land, but I could tell from the cheers that the ball had landed and then spun to a stop.
Here’s the thing…
Synthetic golf greens, that are fully functional and allow for putting, chipping and approach shots, need to be firm. Otherwise you’ll end up with lots of pitch marks, making the putting green unusable (the pitch marks can’t repair themselves in synthetic grass). From here your service costs will go through the roof – with regular maintenance required to keep the green playable.
“I’m heading off this afternoon to get some better golf balls. Thanks so much for your help.”, said Charlie. With that, Charlie and Michael (his son) were off to get ready for their fun golf tournament…
Bruce should be very proud of this green. From a golf perspective it’s stunning. It has the right amount of slope and it’s tricky without being impossible. I took some putts from the very top of the green towards the bottom pin. The green was quick, but not ridiculously so. The ball definitely pulled up and the roll was true.
And when you consider this synthetic golf green is six years old, has survived a flood or two it’s even more remarkable. Even better, Bruce has further improved his installation techniques since this one was put it, so any newer greens are going to perform even better.
What I liked
I loved the whole set up. The little pitch from 30 metres was a heap of fun, especially to the narrow part of the green. I could spend hours hitting all sorts of shots from this point – just think of how much this would improve your short game.
This backyard green has been built to allow almost every sort of shot to be played from it – lobs, chips, running shots, bunker shots and anything else you can think of.
The other thing to mention is the location of the green – you couldn’t build a real green under the trees and so close to the creek. The grass wouldn’t grow for one and if it flooded the green would be probably be destroyed. But with synthetic grass you can construct a green almost anywhere. In this case, the location is perfect, offering fun, diversity and plenty of interest. Also uses a “dead” patch of land that couldn’t be used for much else.
What I didn’t like
There wasn’t much to fault other than the golf balls. I did offer two other recommendations,
1. Remove some of the sand from the bunkers. They had too much in there which caused balls to plug and made hitting proper bunker shots difficult. You need a firm base with only a small amount of sand on top.
2. Place some mini-tees around the green. This would give Charlie and his sons even more variety so they could get even more use and enjoyment from the green.
One more thing I didn’t like and I’ve said this before – I’m jealous I haven’t got this in my backyard…
Charlie has done a fantastic job of maintaining his green – it gets serviced regularly (yearly) and it still performs exceptionally well. It’s proof that Bruce has created something quite amazing and I wish we could show all interested golfers this green because it would be the best salesperson we have. I finished up with a few more pitch shots across the creek and planned how I was going to convince Bruce to build me a replica of this in my backyard… I had 90 minutes in the car to do so.
Here are some more photos with captions attached: